

Happy Halloween to you!
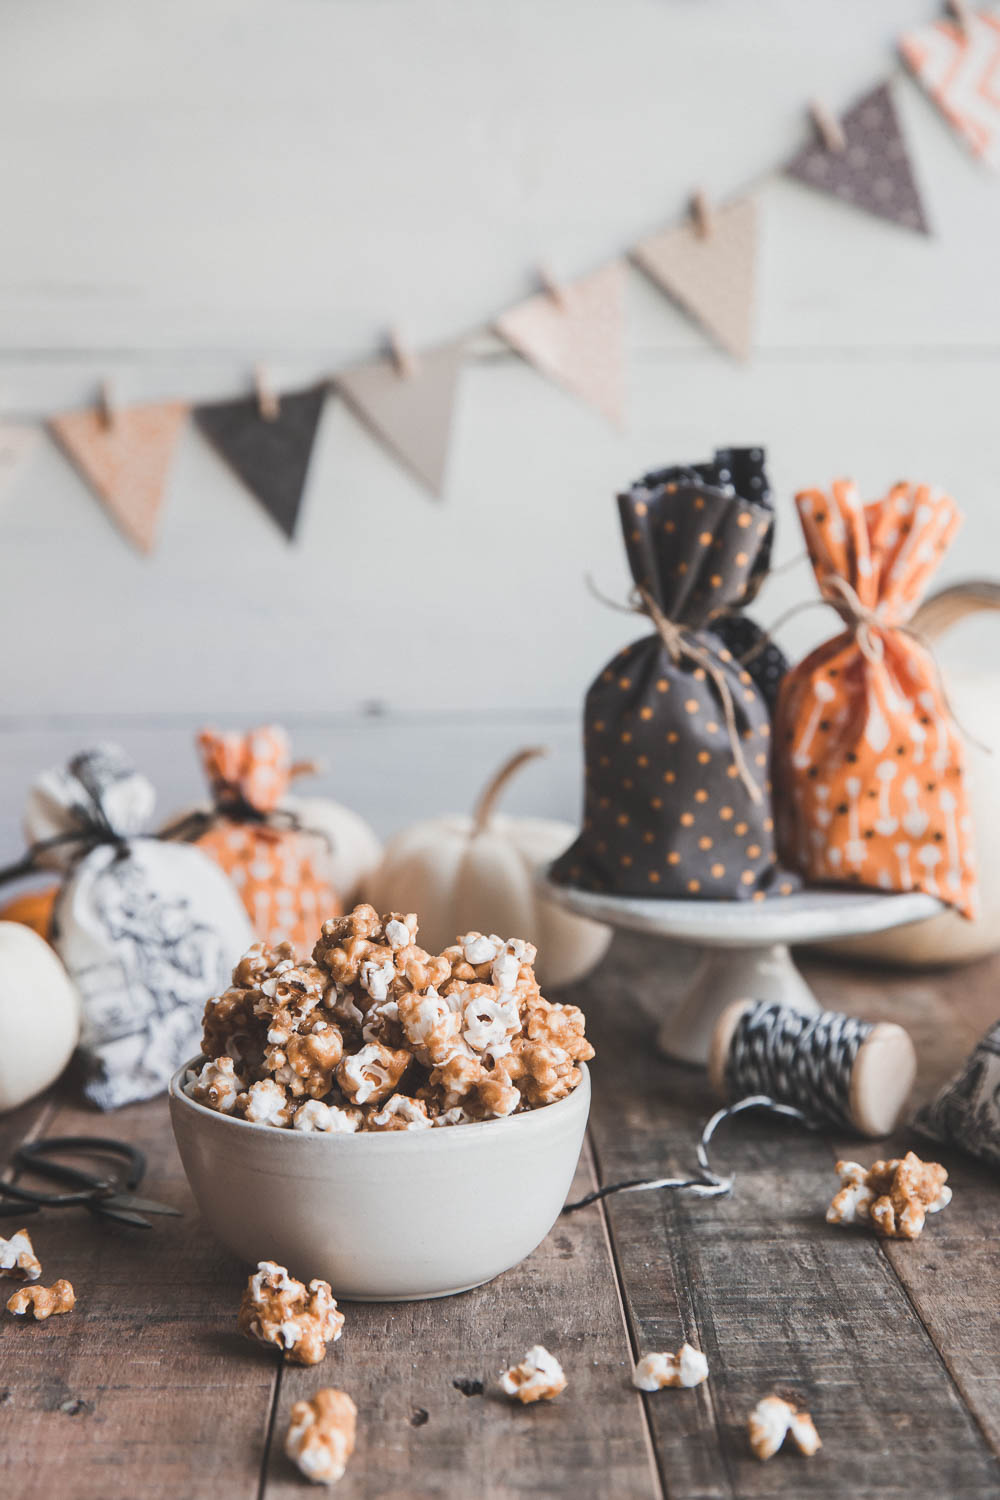
Always at this time of year, I like to make some fun Halloween treats with the kids to share with our friends and neighbors. This year we’re making my favorite caramel popcorn, as always, and these painted Halloween sugar cookies. The “paint” is made from egg yolk and water, painted on before the cookies are baked, so the end result is a slightly crackly and colorful egg-wash that makes the cookies festive and easy to make.

Painting on the colored egg wash before baking the Halloween sugar cookies
There’s no need to be a good painter to make these look good, which makes them perfect for me. The paint puffs and crackles slightly as it bakes, so you get an overall, charmingly imperfect finish. Simple designs work great on these.
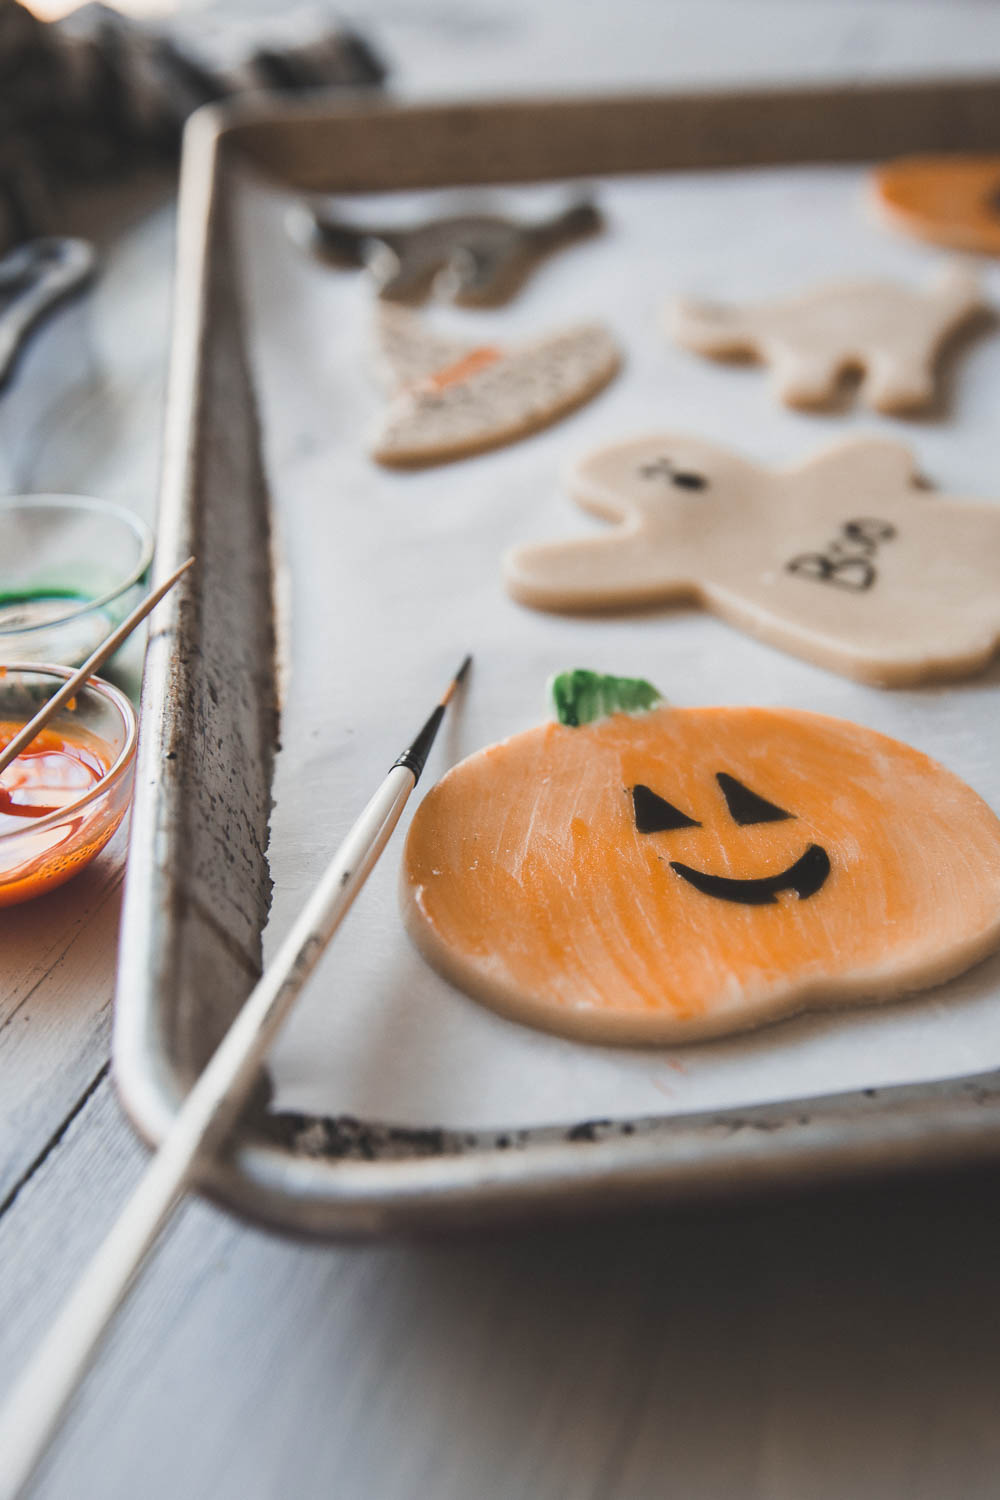
Painted Halloween pumpkin cookie

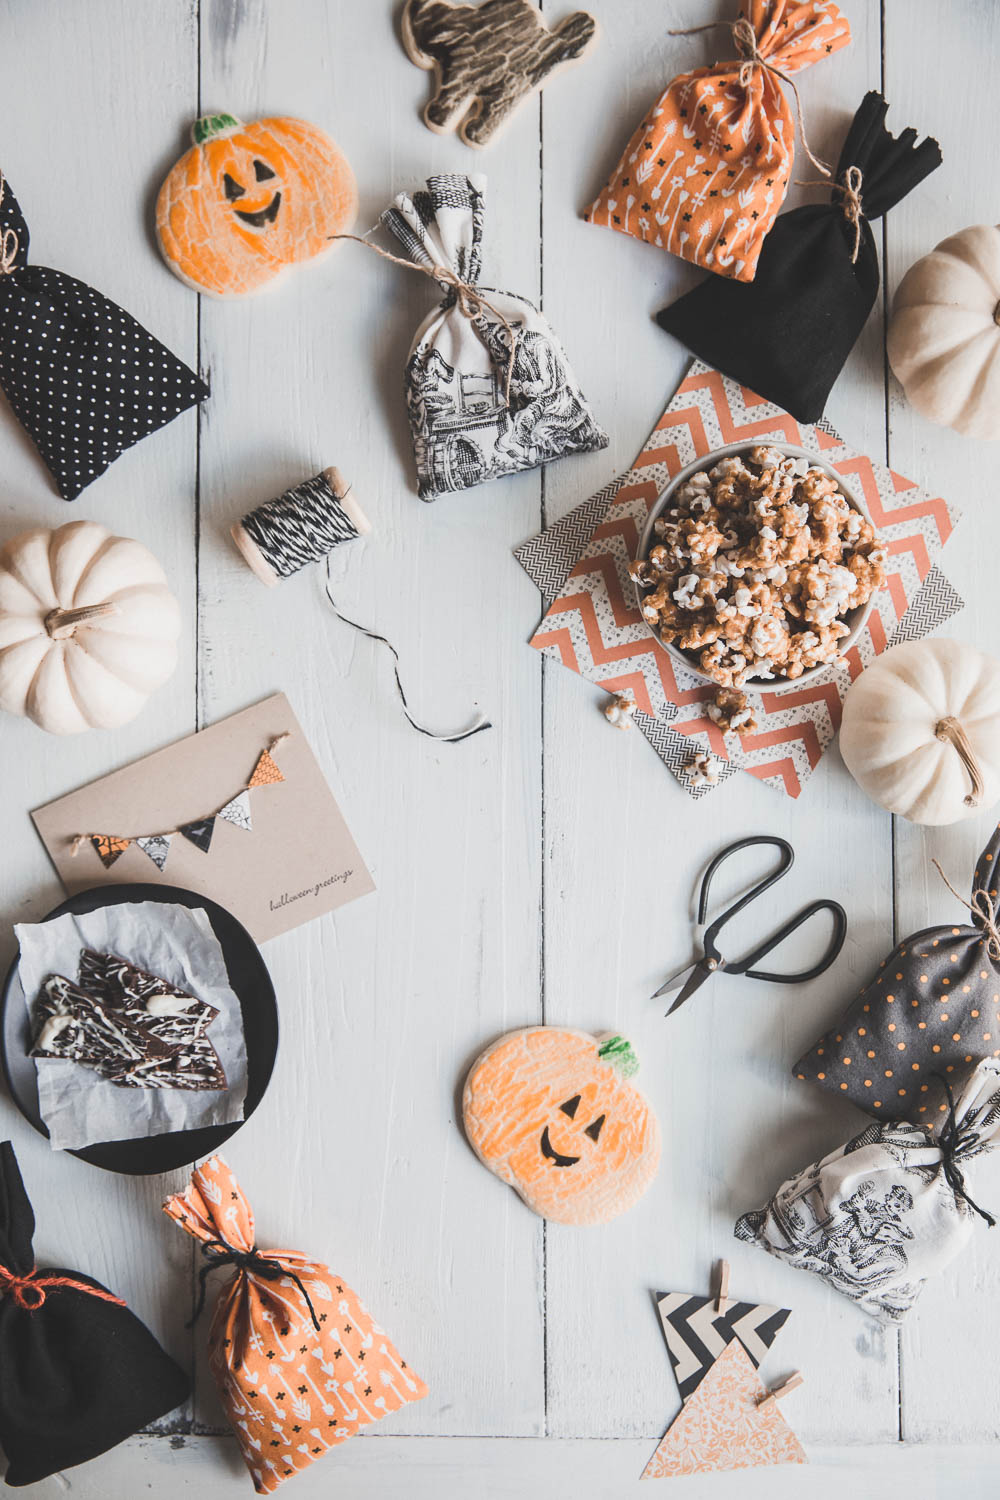
Simply decorated Halloween cookies

Handmade Halloween
Get my FREE Halloween ebook with simple projects and recipes for a homemade holiday.
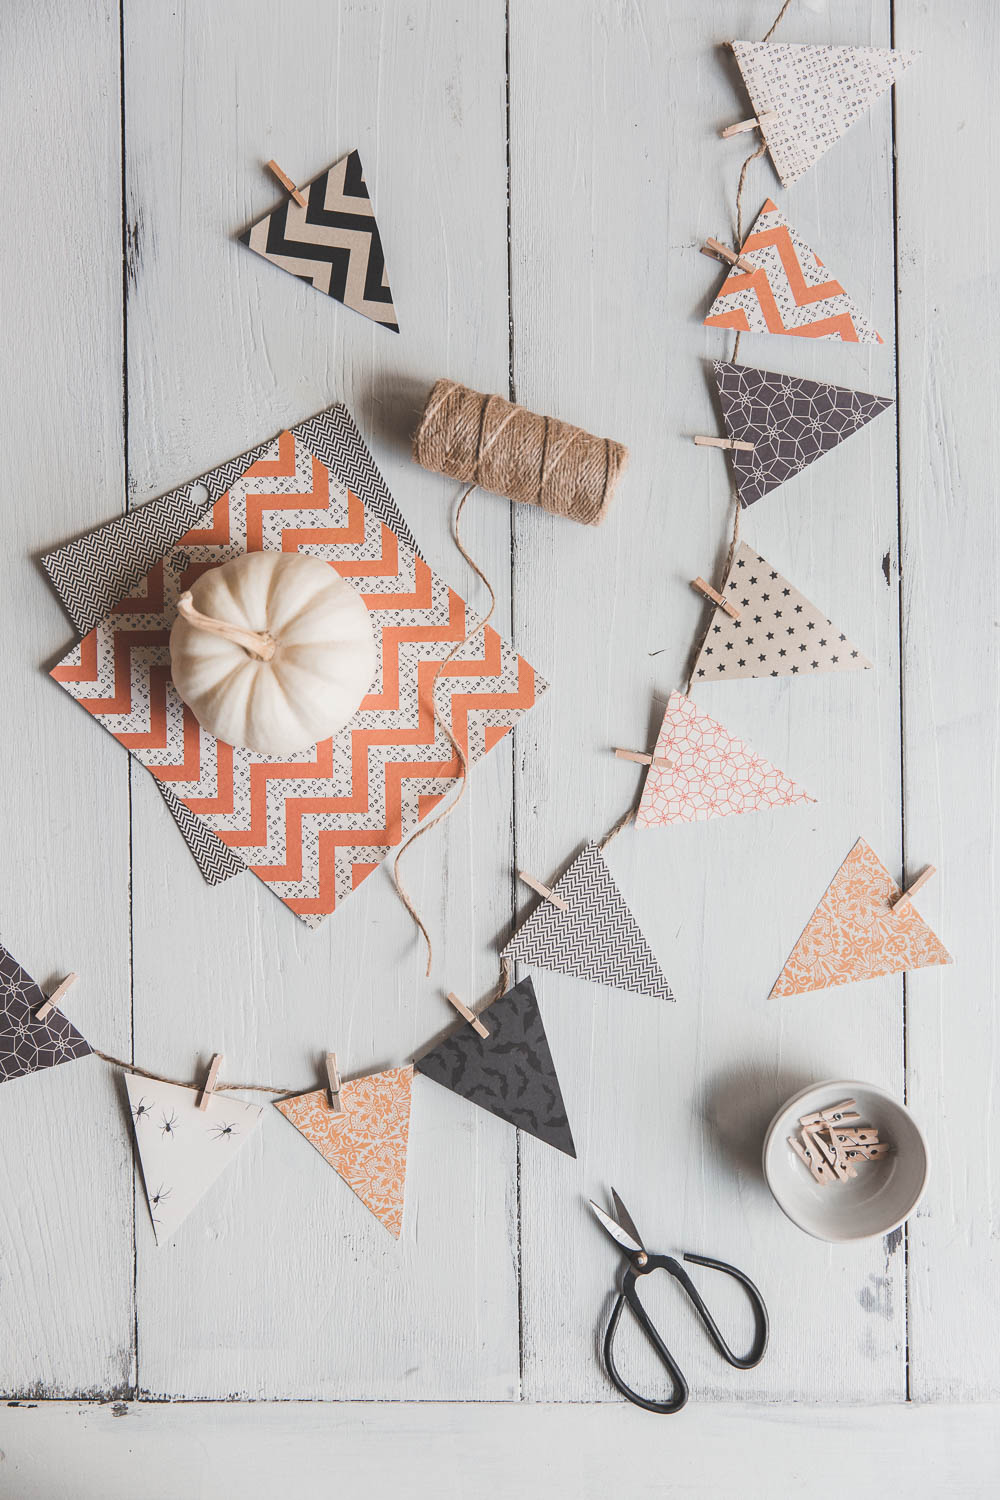
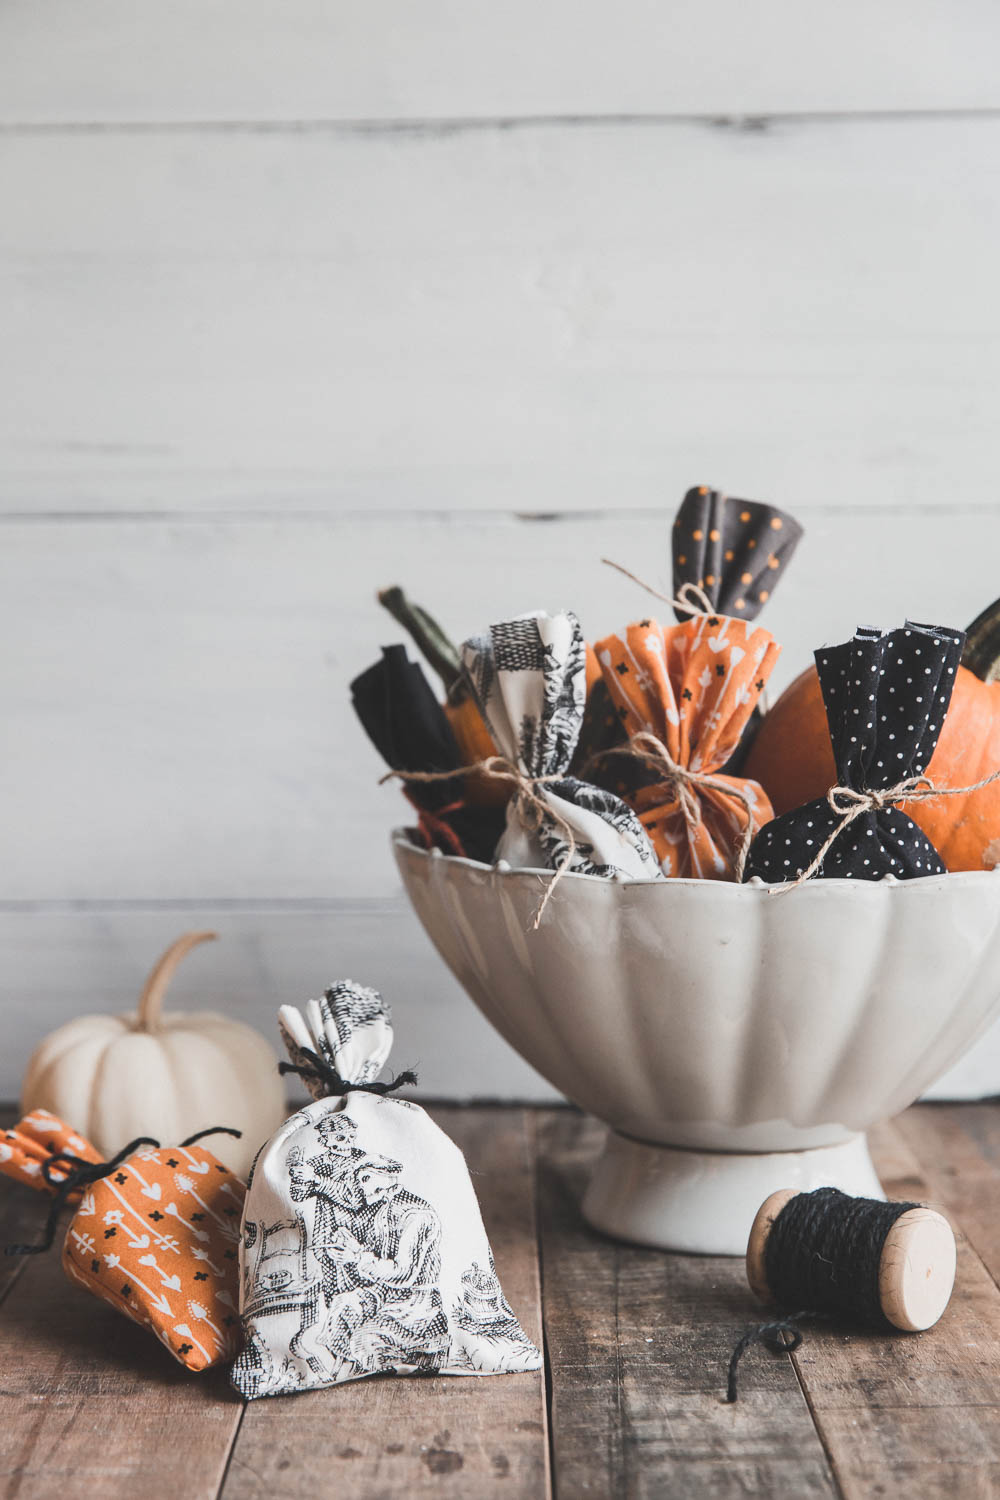
I put together a Halloween ebook for you, with some of my favorite treats and projects for making a homemade holiday. Have you gotten yours yet? You can find it right HERE in my free resource library. Enjoy!
Painted Halloween Sugar Cookies
Makes 12-24 cookies, depending on size and thickness
Ingredients for the cookies:
1 c. unsalted butter, softened
1 ½ c. confectioner’s sugar
1 egg
1 ½ tsp. vanilla
2 ½ c. all-purpose flour
2 tsp. baking powder
½ tsp. salt
For the egg yolk paint:
1 egg yolk
1 tsp. water
Food coloring gels in your choice of colors
Process:
First, make the cookie dough. Cream together the softened butter and confectioner’s sugar. Add the egg and vanilla and beat on medium speed until well-combined. Add the flour, baking powder, and salt, and mix on low speed until combined. Don’t mix more than you need to – overmixing will make these tender cookies tough. Wrap the dough tightly in plastic wrap and let chill for at least an hour, better for 3, and even better overnight. I know, it’s a pain to wait, but it gives the flavor a chance to develop and makes the dough easier to work with.
After the dough has chilled, you can roll and cut the cookies. Preheat the oven to 350°F and line two cookie sheets with parchment. Lightly flour the surface where you will roll out the dough. You don’t want to work in too much flour, so use just enough to prevent sticking. Make sure you flour your rolling pin too.
I like to work with half the dough at a time. Don’t worry if the dough seems solid and like it won’t roll. It will, with just a little coaxing. Give it a few squeezes in your hands and it will soften right up and have a consistency that resembles playdough. Roll out to about ¼ inch thickness and cut into your desired shapes. This dough doesn’t mind being re-rolled, so after you roll and cut the first round, scoop up the scraps and repeat.
Paint BEFORE you bake! Mix the egg yolk with a teaspoon of water and divide into small dishes. Add a drop or two of food coloring gel to each portion. I usually divide mine into 3 small bowls. You’ll be surprised by how much paint you can get from one egg yolk, but of course if you need more, just mix up another egg yolk and water and add your colors. Using paintbrushes that have not been used other than for kitchen crafts, paint your cookies with desired designs.
Bake the cookies for 8-10 min, depending on the sizes of your cutters. You want them cooked through, just barely turning light brown on the edges. The cookies will puff slightly and the paint will get a shiny and gently crackled texture.
Store the cooled cookies in an airtight container. Cookies are good for 2-3 days after being baked.

Before and after baking painted Halloween sugar cookies
Enjoy! Hope your Halloween is filled with lots of homemade fun.